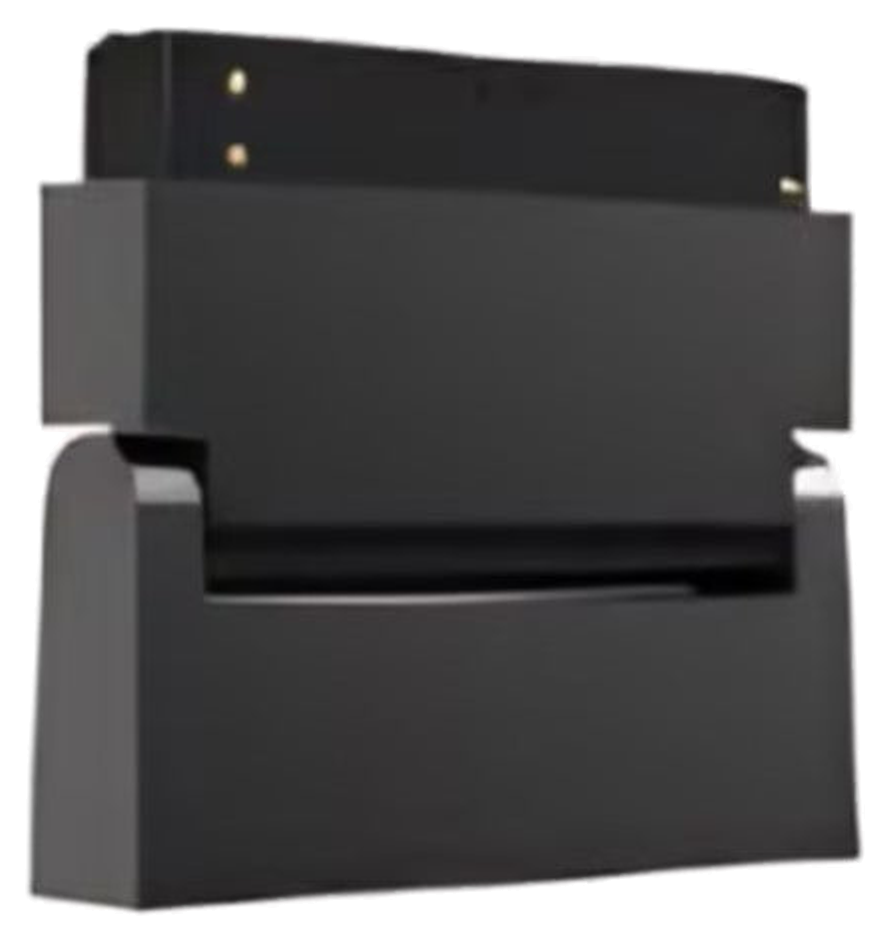
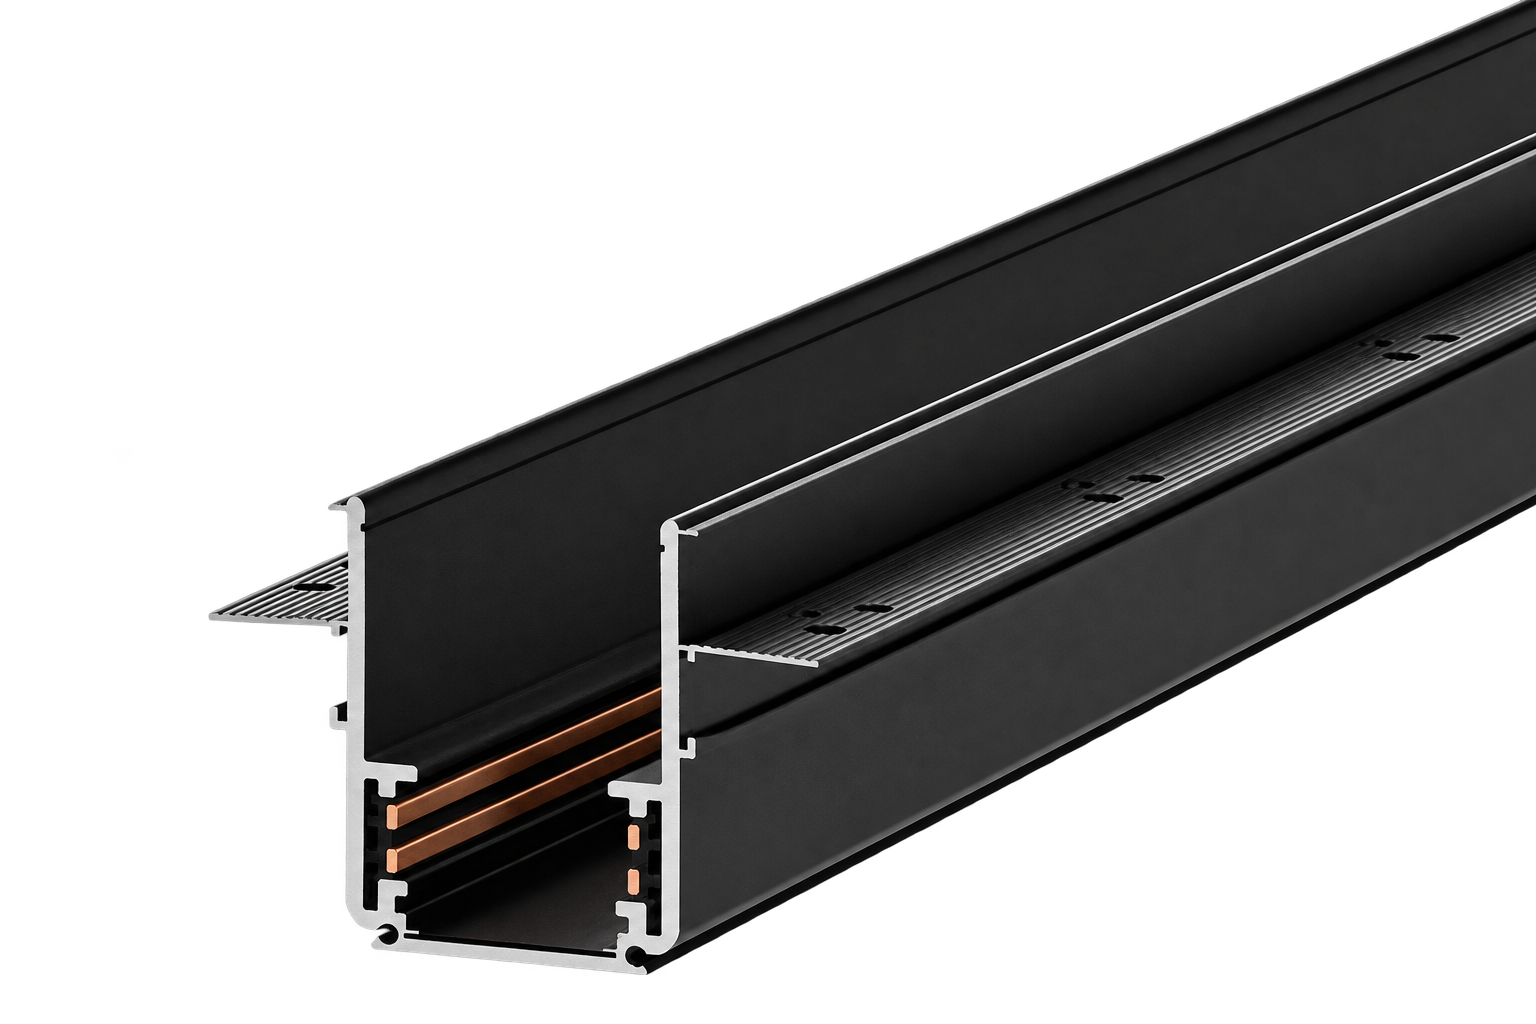
48V powerConductorsContacts
The power behind the light
The rail provides power and mounting. Luminaires provide light and control.
JINK · FLAGSHIP MAGNETIC LIGHTING
Quiet lines.
Light for living.
One architectural track. Many ways to light a room. Combine spotlights, grille lights, diffusers and pendants around the way you live.
Recessed installation concept · select compatible lamps separately.
AT A GLANCE
The rail provides power and mounting. Luminaires provide light and control.
Recessed track wall thickness, anodized aluminum and copper conductors.
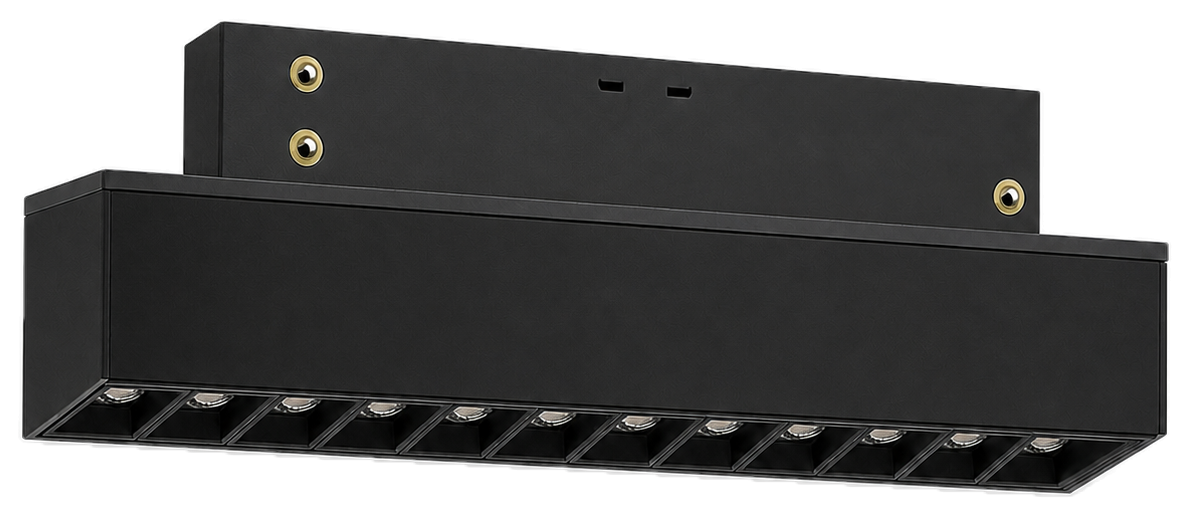
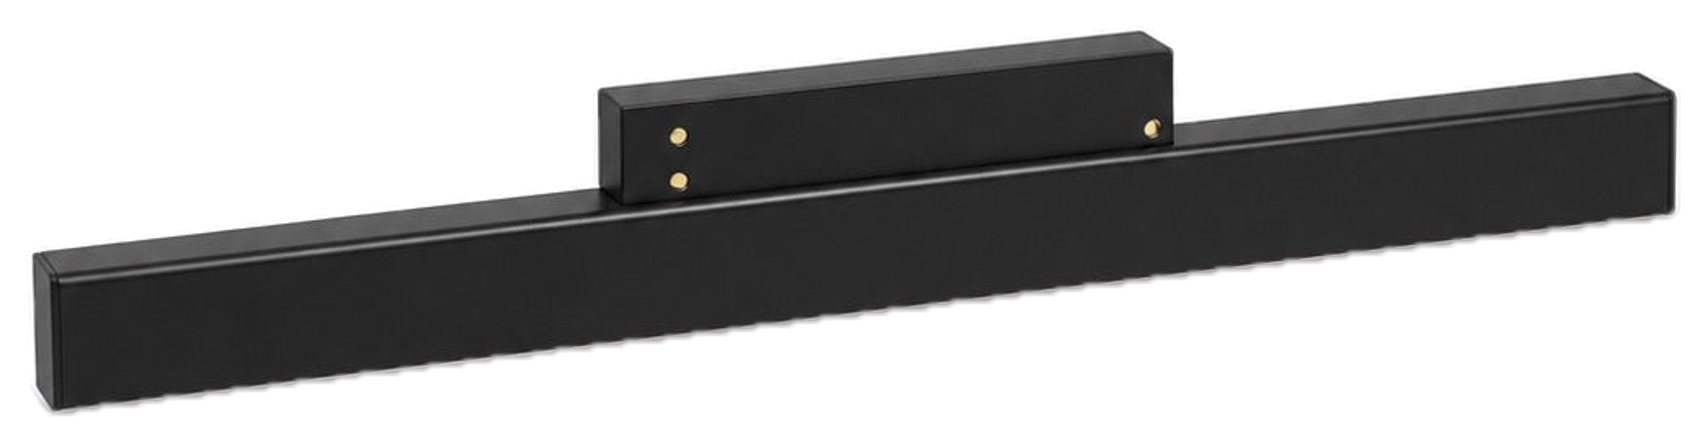
Accent, ambient and pendant lighting, selected by zone.

Choose compatible Matter luminaires for your preferred home platform.
Actual product forms. Light accents and paths illustrate power, modularity and connectivity.
SYSTEM DESIGN
Power, mounting and smart control have distinct roles in a complete Glide 20 installation.
Rails and structural connectors do not dim, tune color temperature or join a smart home by themselves. Smart features depend on luminaires, controllers and platform configuration.
TRACK CONSTRUCTION
The real recessed profile combines anodized aluminum, substantial walls and copper conductors for a consistent mounting and power foundation.
GLIDE 20 · RECESSED SLOT
Recessed installation conceals the rail body and side flanges within the ceiling. Once the finish is complete, a narrow slot and the luminaires remain visible. The slim appearance comes from how the track meets the architecture.
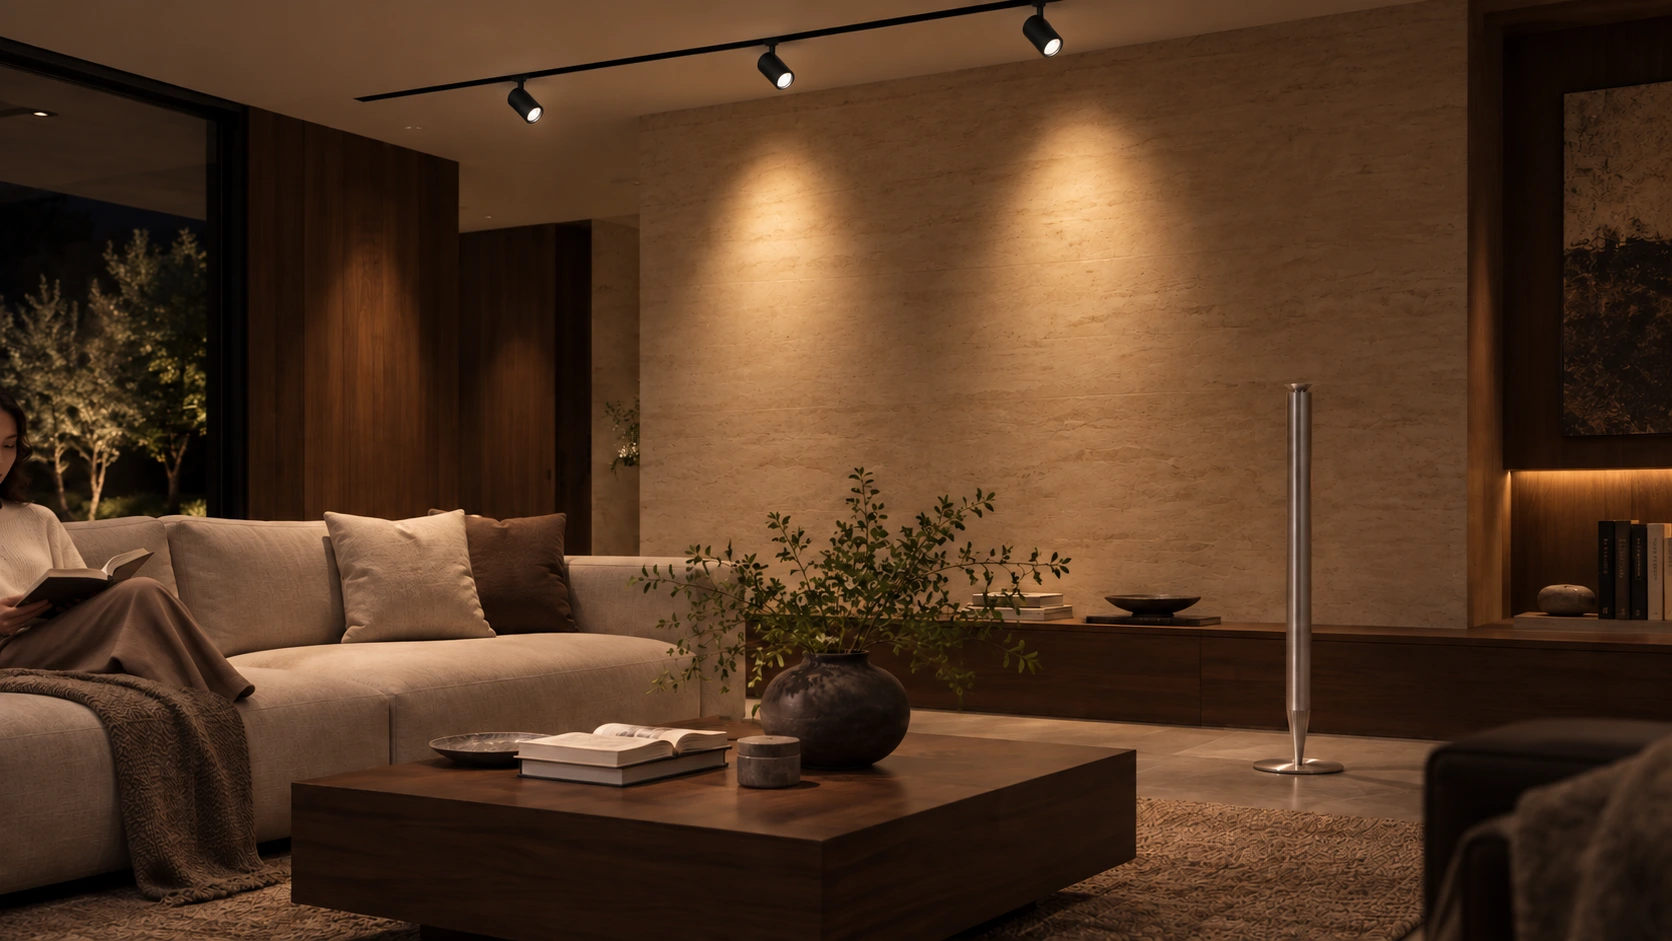
The slot organizes the luminaires into a clean ceiling line.
The body and flanges still require installation space above the finish.
Coordinate the ceiling, rail route, lighting positions and service access before construction.
ANODIZED ALUMINUM
The aluminum profile forms a continuous structural body, with an anodized oxide layer at its surface. Up close, the finish has a restrained metallic character. In the room, it gives the slot a crisp edge. The profile, finish and ceiling detailing all contribute to the final appearance.
The image preserves the profile geometry; use the relevant drawings for construction dimensions.
COPPER CONDUCTORS
Conductors run along the inside of the profile and meet the corresponding contacts on a luminaire adapter. The rail provides mounting positions and a 48V power path. Correct seating and retention of each adapter complete the mechanical and electrical connection.
48V DC
Once correctly seated, the lamp contacts connect with the conductors inside the rail. Power is integrated into the structure, keeping the visible ceiling line clean.
Power-path illustration. The conductors do not emit light.
Compatible supply → conductors and electrical links → luminaire contacts.
Recessed rail → luminaire adapter → retention check against its instructions.
Plan connected load, run length, connectors and feed position together.
INSIDE THE PROFILE
The section reveals internal spaces, round openings near the base and side mounting flanges. These belong to the same profile, whose supplied specification lists a 2.8 mm wall thickness. Seeing the section helps explain how a slim visible line can coexist with a substantial concealed body.
Recessed rail wall thickness
66 × 47 mm describes the 1 m rail profile, not the visible slot after installation.
Profile geometry is shown from the product reference. Thermal performance requires the relevant test data.
CHOOSE YOUR LENGTH
Explore five rail lengths. Plan the route, power feed and connectors together.
Recessed installation · Compatible with Glide 20 standard luminaires
Length illustration for planning. Confirm profile, connectors, cutting and installation against the relevant drawings. The current store item is the 1 m rail; request other lengths for your project.
Corner electrical link
Provides electrical continuity through turns with the matching structural connector.
For Glide 20 standard track. Confirm the parts required by the layout.
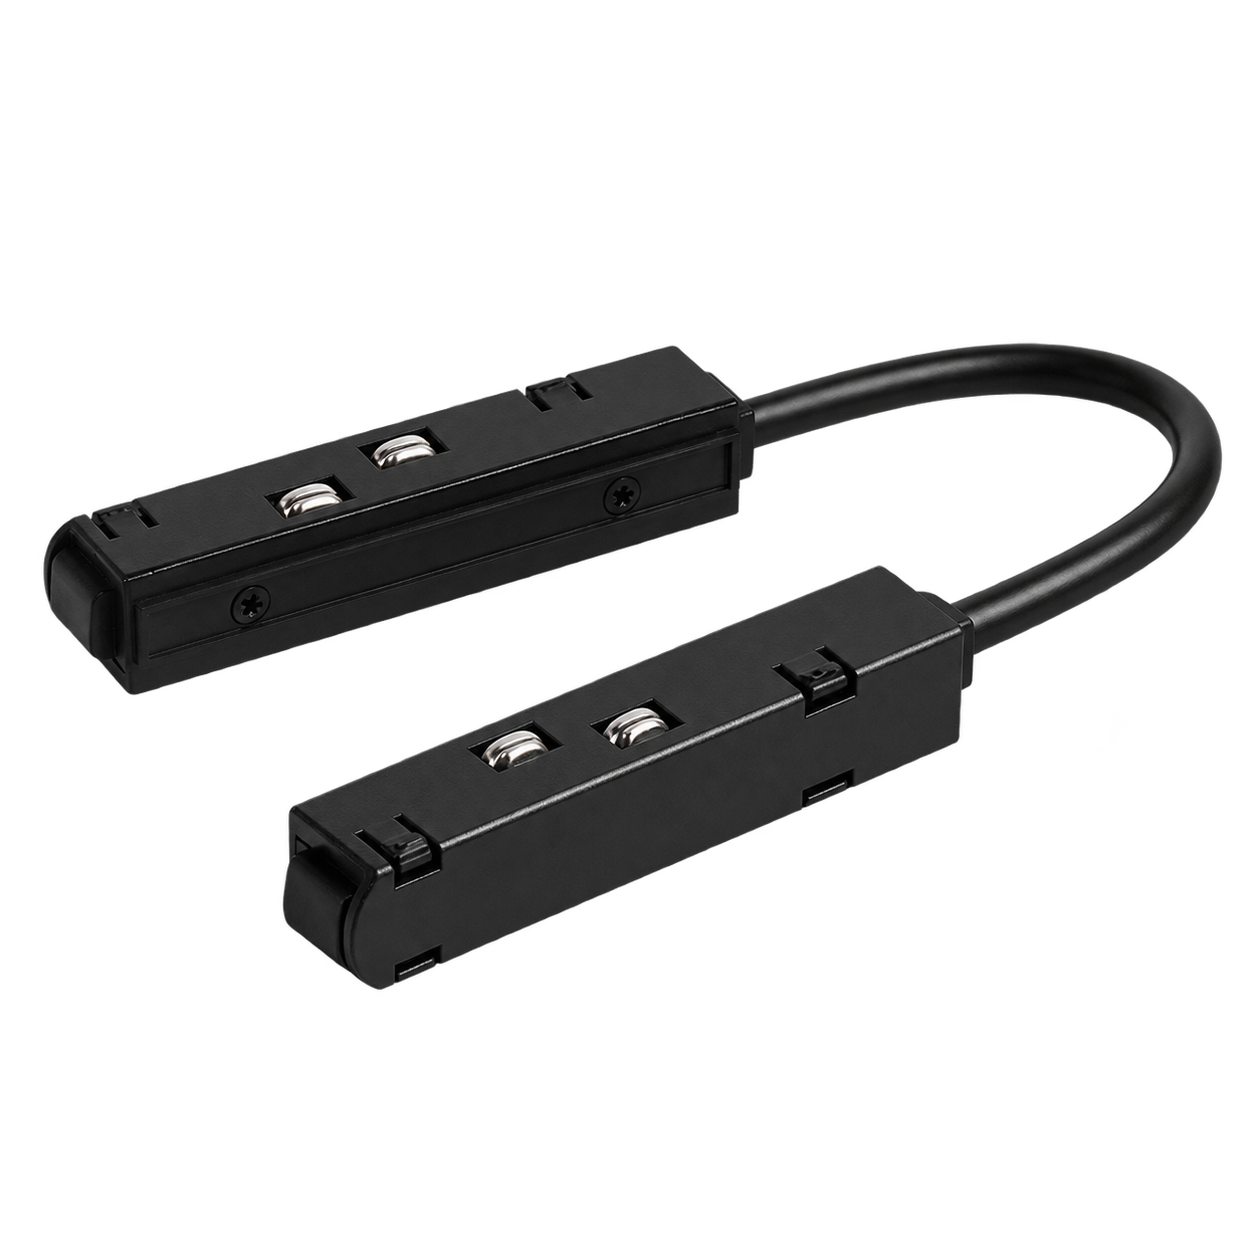
Structural parts establish the route; electrical links continue the supply.
Straight electrical link
Connects two aligned Glide 20 rail sections.
For Glide 20 standard track. Confirm the parts required by the layout.
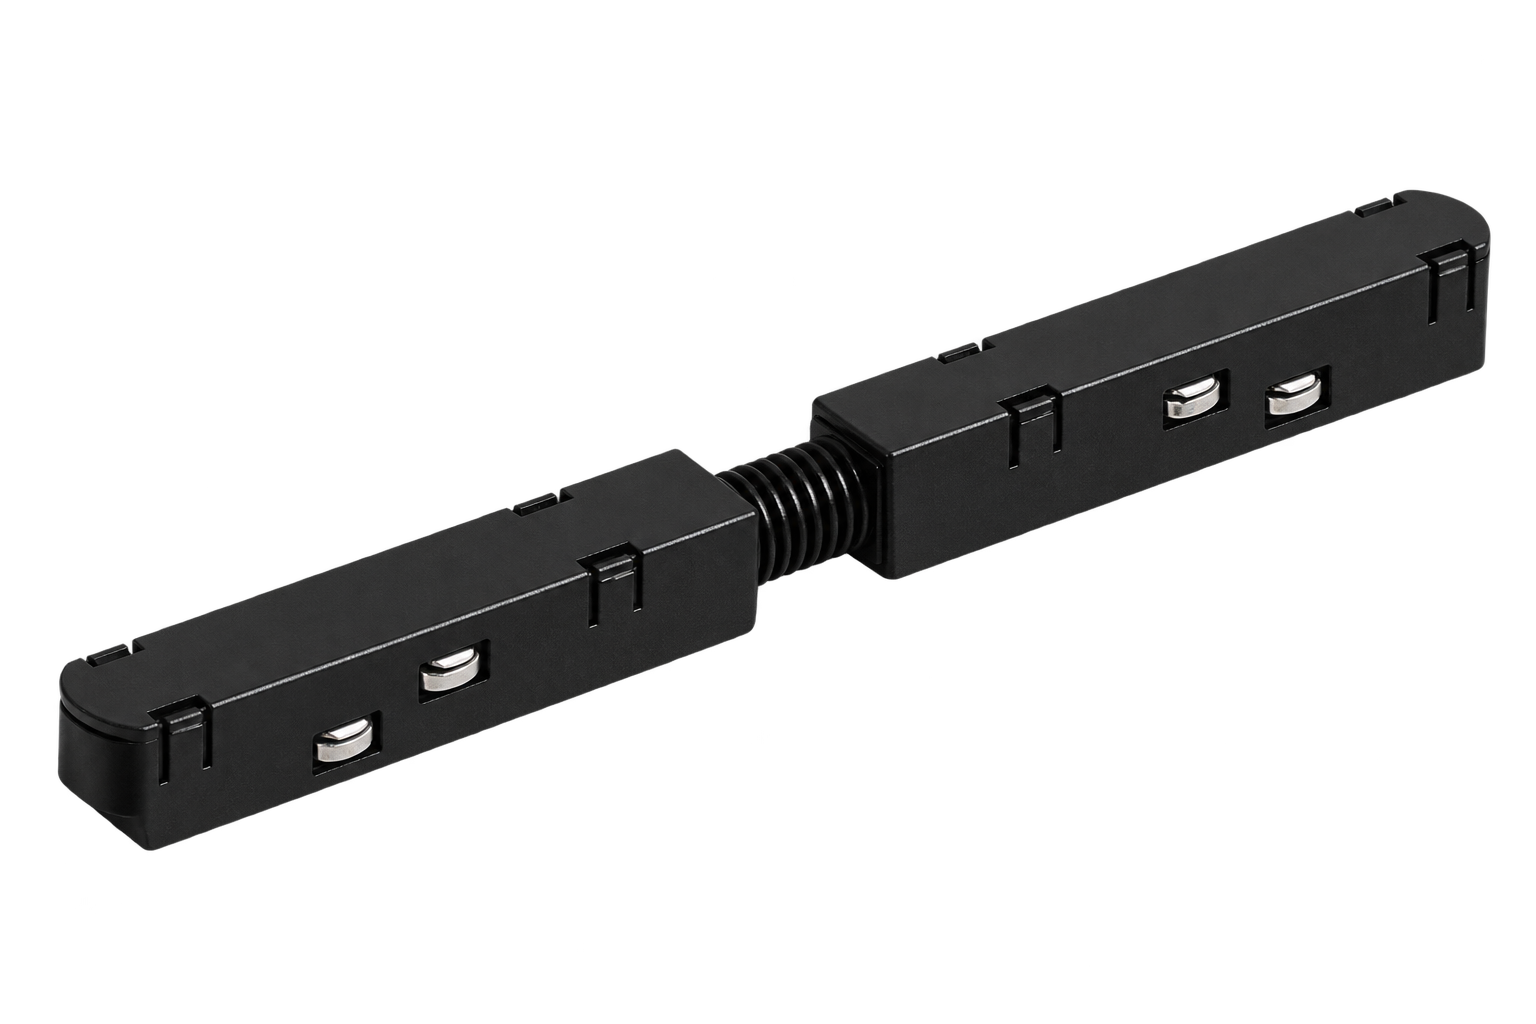
Align the rail sections and use the matching straight electrical link, completing the structural joint as specified.
Adjustable direction link
Adjusts the direction of the connection. Match the routing and structural parts.
For Glide 20 standard track. Confirm the parts required by the layout.
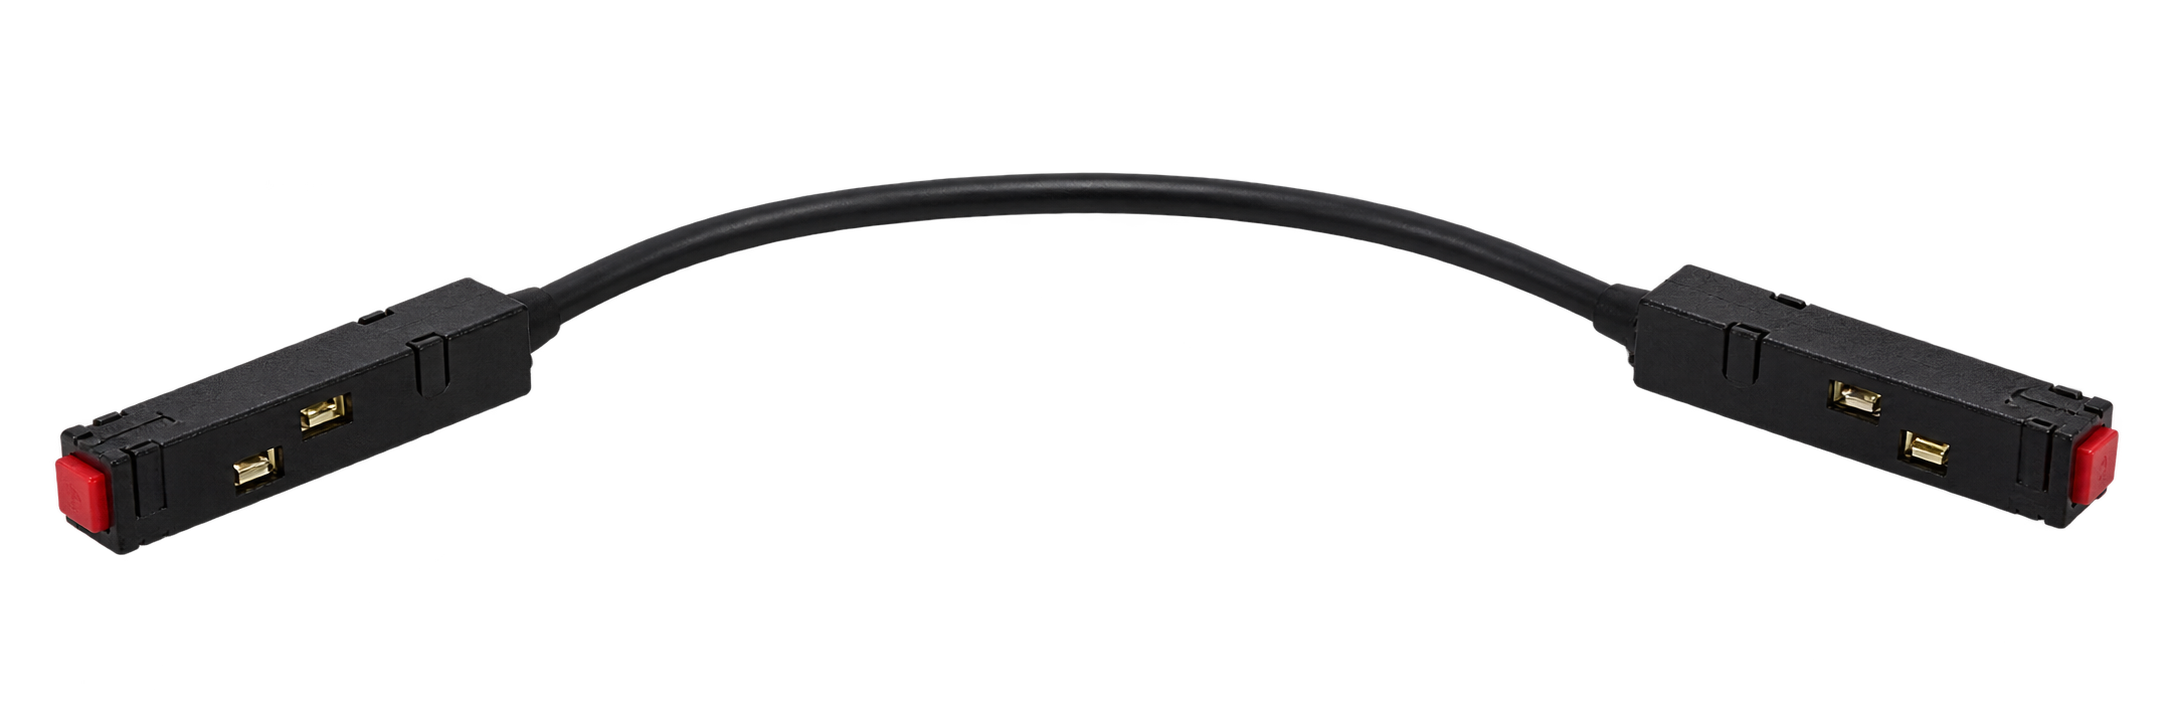
Choose the connection direction around the ceiling and wall geometry, leaving a suitable cable route.
Inside-corner connector
100 × 100 mm inside-corner structural piece. Pair with the appropriate direction link for electrical continuity.
For Glide 20 standard track. Confirm the parts required by the layout.

The inside-corner piece defines the bend; the direction link provides the corresponding electrical connection.
THE LUMINAIRE FAMILY
Explore current models by lighting task. Open each model for finishes, output and dimensions.
MODULAR LIGHTING
A sofa moves. Artwork changes. A table gets longer. Glide 20 organizes different luminaires on one rail system so the lighting plan can be reconsidered around the room. Reconfiguration still calls for compatible parts, an adequate power supply and correct retention, with power disconnected first.
Use spotlights for artwork, displays and focused tasks.
Start with diffuse lighting, then refine the accents.

Use suspended modules to define a table or counter.
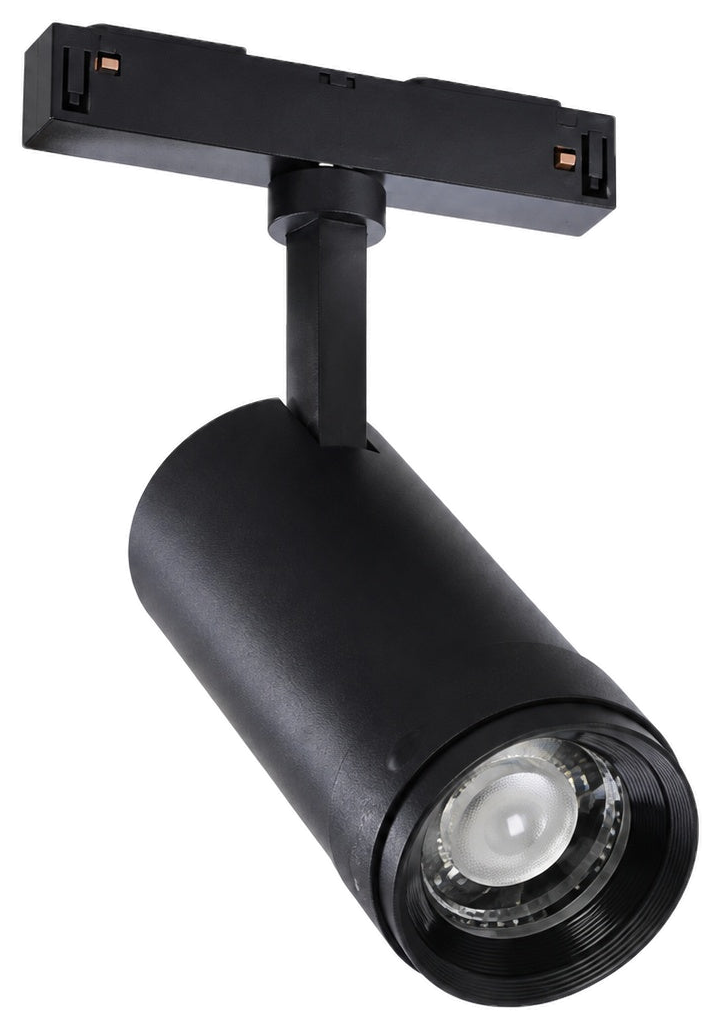
Directional spotlight
A cylindrical head and magnetic adapter create a focused architectural form for art, walls and display.
The cylindrical body houses the optics, with the source and reflector set inside the front opening.
A short solid stem links the head to the long adapter seated in the matching rail.
For artwork or display, test the mounting position, aim and view from the room.
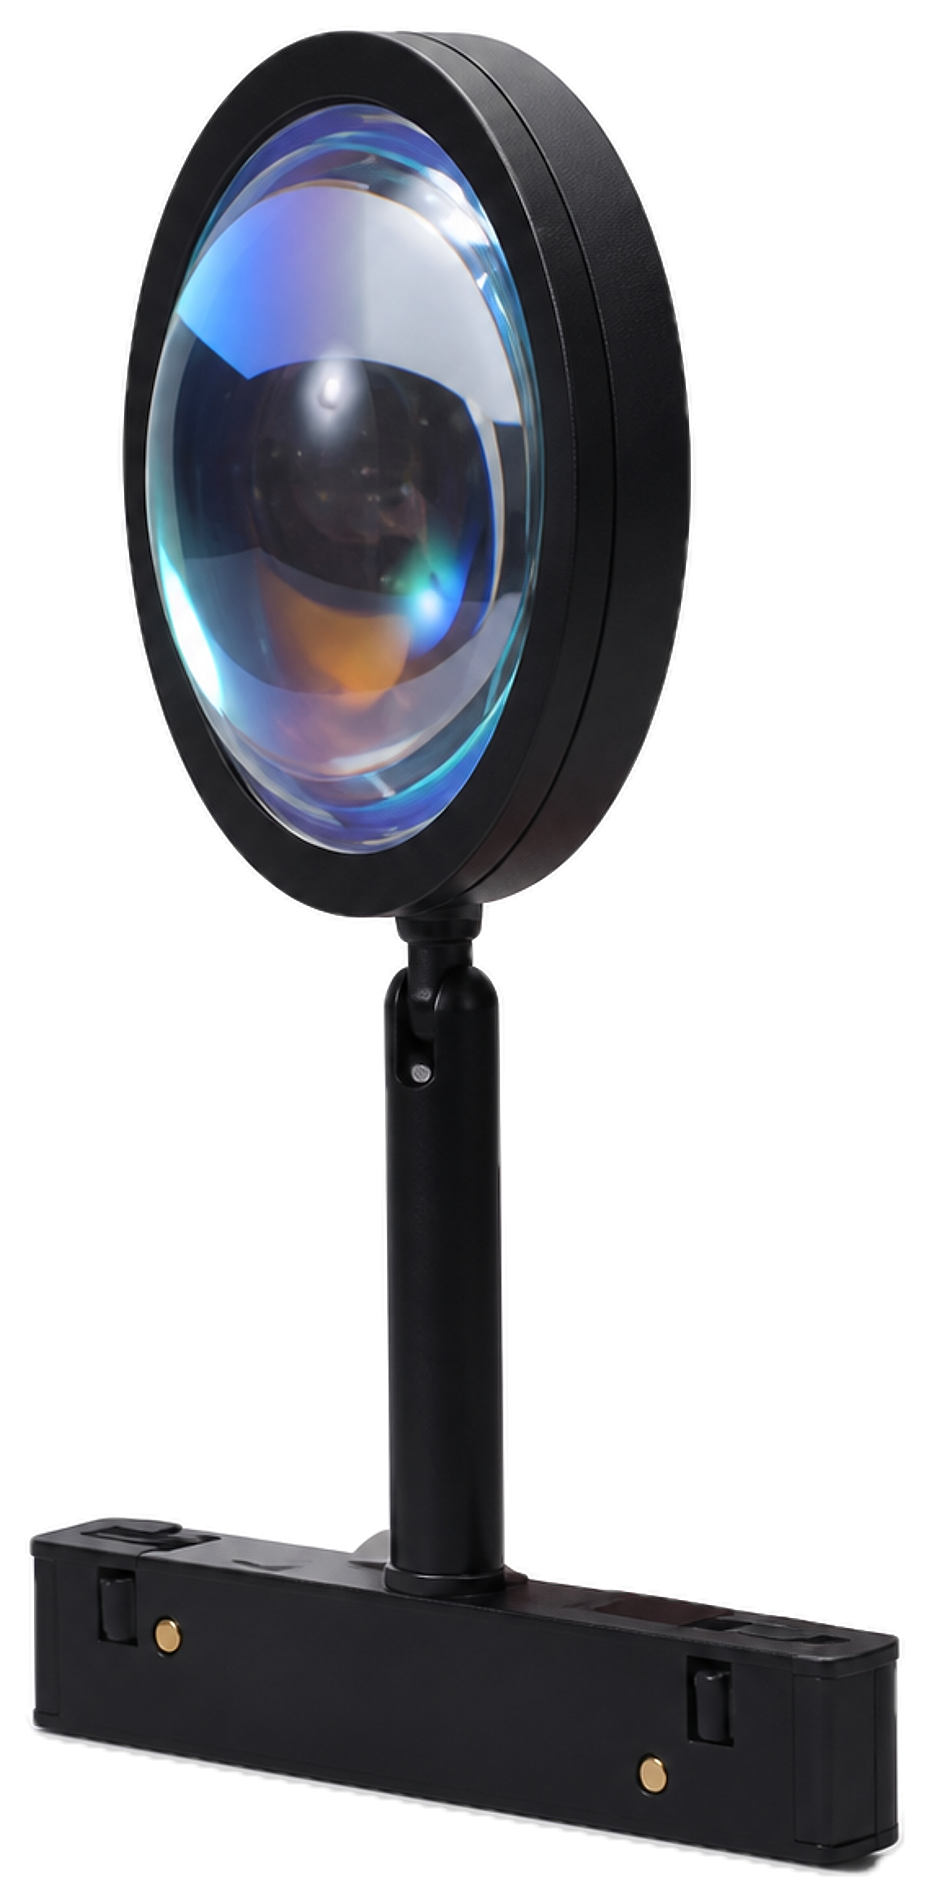
Adjustable-focus spotlight
The supplied adjustable-focus edition specifies a 10–60° beam range. A narrower angle concentrates the beam over a smaller area; a wider angle expands its coverage. Select the adjustable-focus version explicitly; fixed-beam models do not acquire zoom capability from the rail.
10–60°
At the same projection distance, a wider beam covers a broader area. The zoom version lets you adjust coverage for artwork, objects or a wall.
Geometric illustration, not measured illuminance or photometry.
Focus on a small object
Light a display
Open up the coverage
Beam diagrams illustrate angle only. 36° is an example within the range, not a measured distribution, illuminance result or mechanical preset.
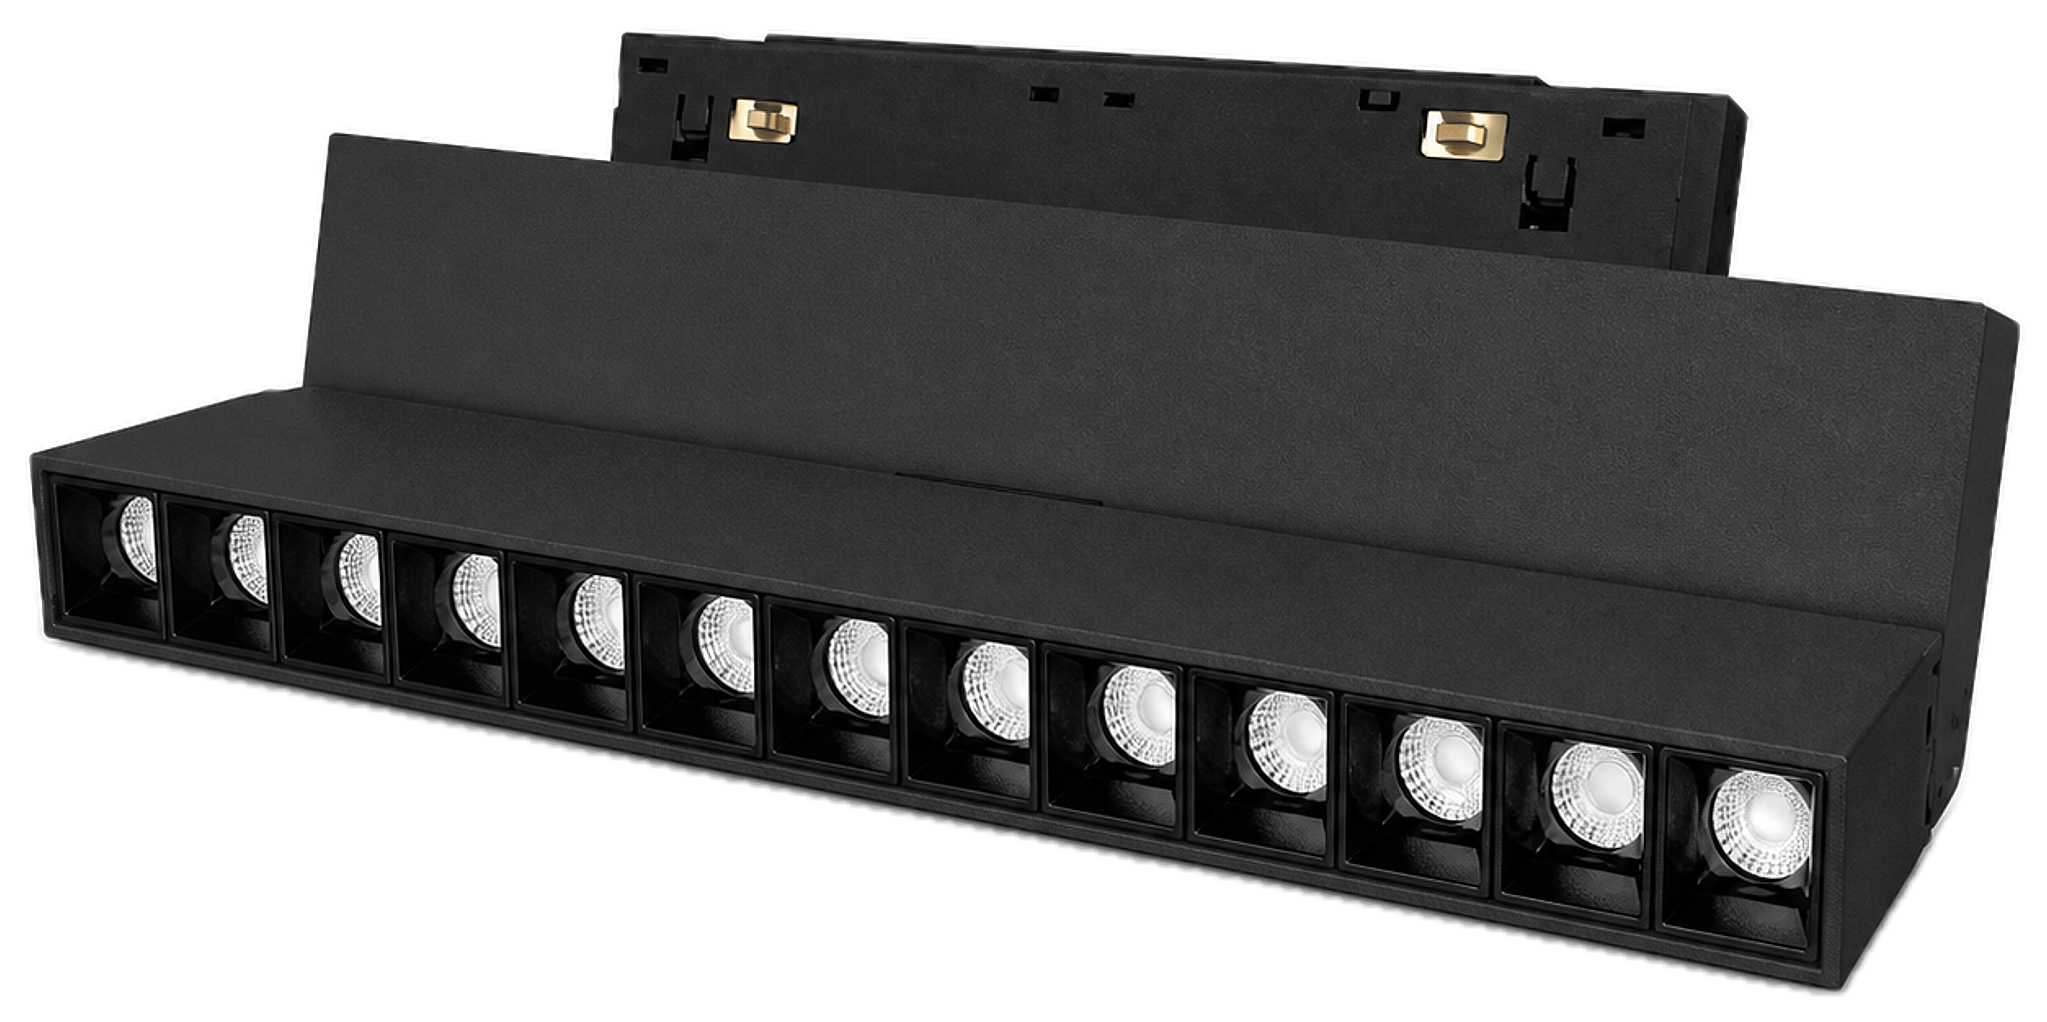
Linear grille
Individual optical cells form an ordered line for corridors, living rooms and display areas.
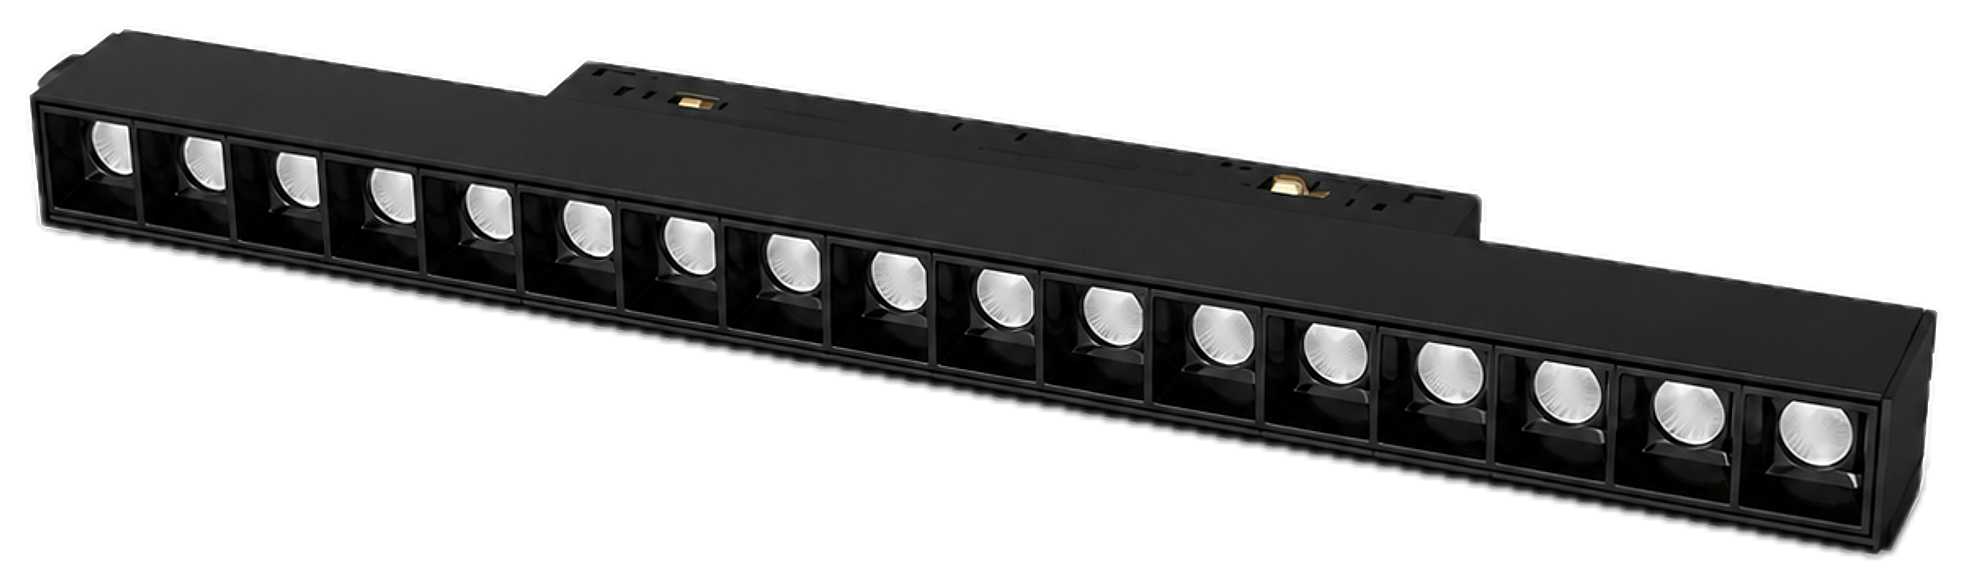
Individual cells repeat along the body for a measured linear appearance.
Use it within corridor, display or zoned lighting, checking spacing and direction on site.
Check power, length and optics separately for each Array and Array Pro model.
DIFFUSE LIGHTING
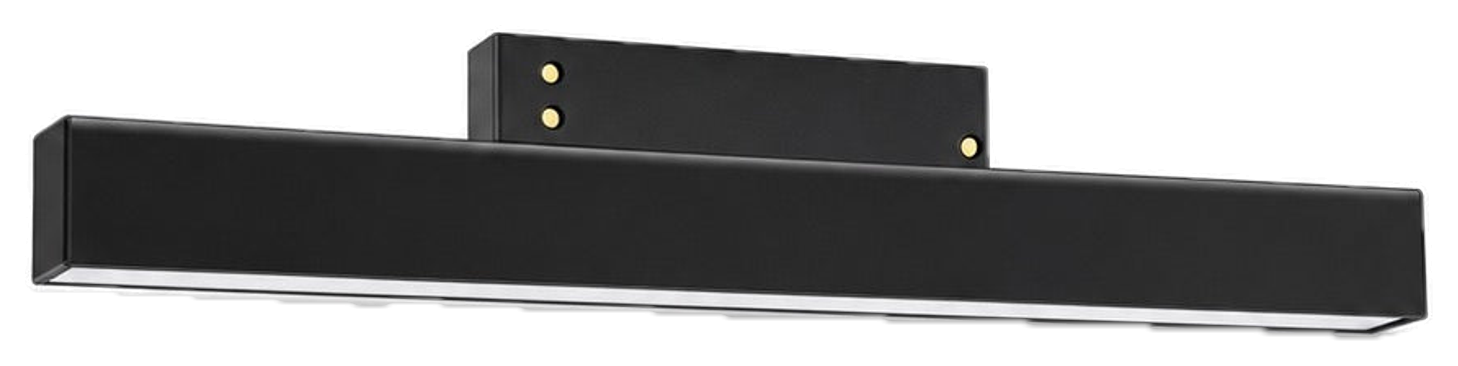
A continuous luminous surface provides a broader ambient layer. Spotlights establish the accents, while diffuse modules fill out the room. Plan both around the room size, surface finishes and required light level.
Two Glide Diffuse length models
Diffuse 30: 300 mm · 12W
Diffuse 60: 600 mm · 20W
Values refer to the current product records; confirm the selected model.
Pendant lighting
A slender suspended body brings a vertical accent and local illumination above tables and counters.
A slender suspension brings the source closer to a local lighting task.
Select the drop around the table width, seated sightlines and beam coverage.
Use pendants for the tabletop, with ambient light maintaining depth around it.
LIGHT FOR THE TABLE
The table is set and dinner is ready. Two downward pools of light draw attention to the food and tabletop, while the surrounding light reveals the wall and walnut grain. After the meal, lower the table lights and let the conversation continue.

Concept interior. Suspension length, fixture count and controls are selected for the project.
LUMINAIRE COLOR RENDERING · CRI 97
Choosing light also means considering how the materials in your home will appear. The selected Glide 20 luminaire records specify CRI 97, a color-rendering metric. When selecting lighting, view actual timber, fabric and finish samples under the intended white-light setting.

Concerns how object colors appear under a source; CRI belongs to the luminaire.
Describes the warm or cool appearance of white light, a separate characteristic.
Controls light level; brightness alone does not establish color rendering.
This is a concept visualization, not a CRI test or before-and-after comparison. CRI 97 does not mean “97% accuracy for every color.” Check each model’s specification. CIE color-rendering definition ↗
2700–6500 K TUNABLE WHITE
Warmer white light can accompany dinner and winding down; a more neutral setting can suit a clear view of a table or objects. Tunable-white luminaires let you change the setting to your preference instead of fixing one atmosphere for the room.
Range applies to compatible tunable-white versions. The screen gradient is illustrative, not a spectrum, measured color or claim of automatic circadian control.
FIND YOUR LIGHT LEVEL
Raise the task lighting when you need a clearer view, then lower it when you want a quieter setting. Dimming changes light level; color-temperature adjustment changes the warmth of white light. A scene can store the combination you prefer for use again.
Clear
Comfortable
Quiet
The illustration uses the same white-light color at different visual levels. Actual dimming range, minimum output and available controls depend on the luminaire and platform.
EXPLORE THE LIGHT
Explore the brightness and warmth of compatible tunable-white luminaires for reading, gathering and winding down.
Concept space and lighting are a website simulation. Available range and functions depend on the chosen luminaire. A600 is a separately selected companion product.
MOMENTS AT HOME
An open book. The grain of walnut. A branch of fresh green. Light can give an ordinary moment depth without becoming the loudest object in the room.
GLIDE CORE POWER
Supply luminaires through the compatible 48V power unit. Select it around the connected load, rail route and feed location. Capacity and dimensions depend on the chosen version.
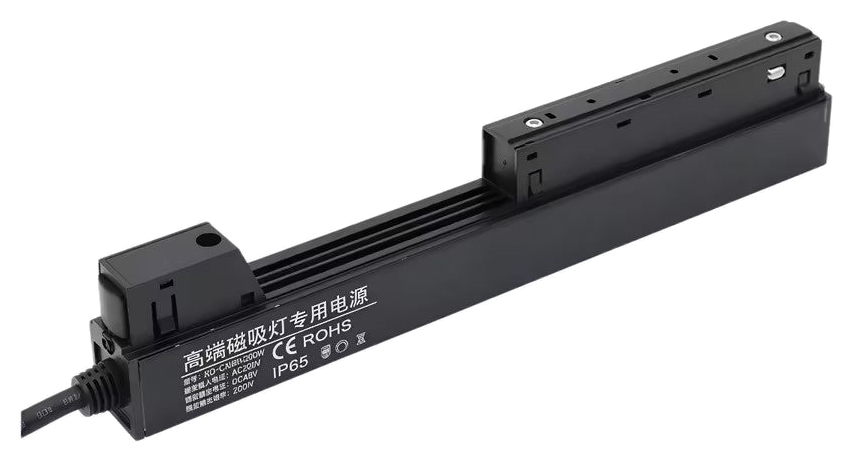
Add the power of the luminaires used together and allow the margin specified for the supply.
Review run length, connectors and wiring together; supply wattage alone does not establish maximum run length.
Confirm the supply location and access for future inspection before the ceiling is finished.
MATTER OVER THREAD
Matter is an IP-based smart-home standard that gives compatible devices and platforms a common language. With Glide 20 Matter luminaires, organize lighting, rooms and scenes in a supported platform.

Matter luminaires + a compatible Matter controller + suitable Thread infrastructure. One device may provide both controller and border-router roles. Remote access requires the relevant online platform configuration.
Manage compatible lights in the Home app. Configure a supported home hub and network for remote access and automations.
Official setup guidance ↗Manage devices through a Matter-enabled Google Home setup. Thread luminaires require suitable Thread infrastructure.
Official setup guidance ↗Use a Matter-capable Alexa setup. Available lighting controls depend on the luminaire and platform.
Official setup guidance ↗Matter platform example: connect supported Matter lights through a compatible SmartThings hub.
Official setup guidance ↗These are relevant Matter platforms and setup paths. Functions vary with the luminaire, controller and platform version. The structural rail itself does not provide protocol connectivity.
Explore the Matter standard ↗A CLOSER LOOK AT CONNECTIVITY
The two have different jobs. Matter lets compatible platforms recognize and control a luminaire. Thread carries communication over its network. A Thread border router connects that network to the rest of the home IP network, while a Matter controller handles the platform’s device control.
This shows a typical home setup. Mesh behavior depends on device roles and placement; it does not establish that every luminaire acts as a router. About Thread ↗
IPHONE & THE HOME APP
Once compatible luminaires are added to Apple Home, organize them by room and access their available power, brightness and white-light controls. Add the living-room lights to a scene so your preferred combination has a name you can return to.
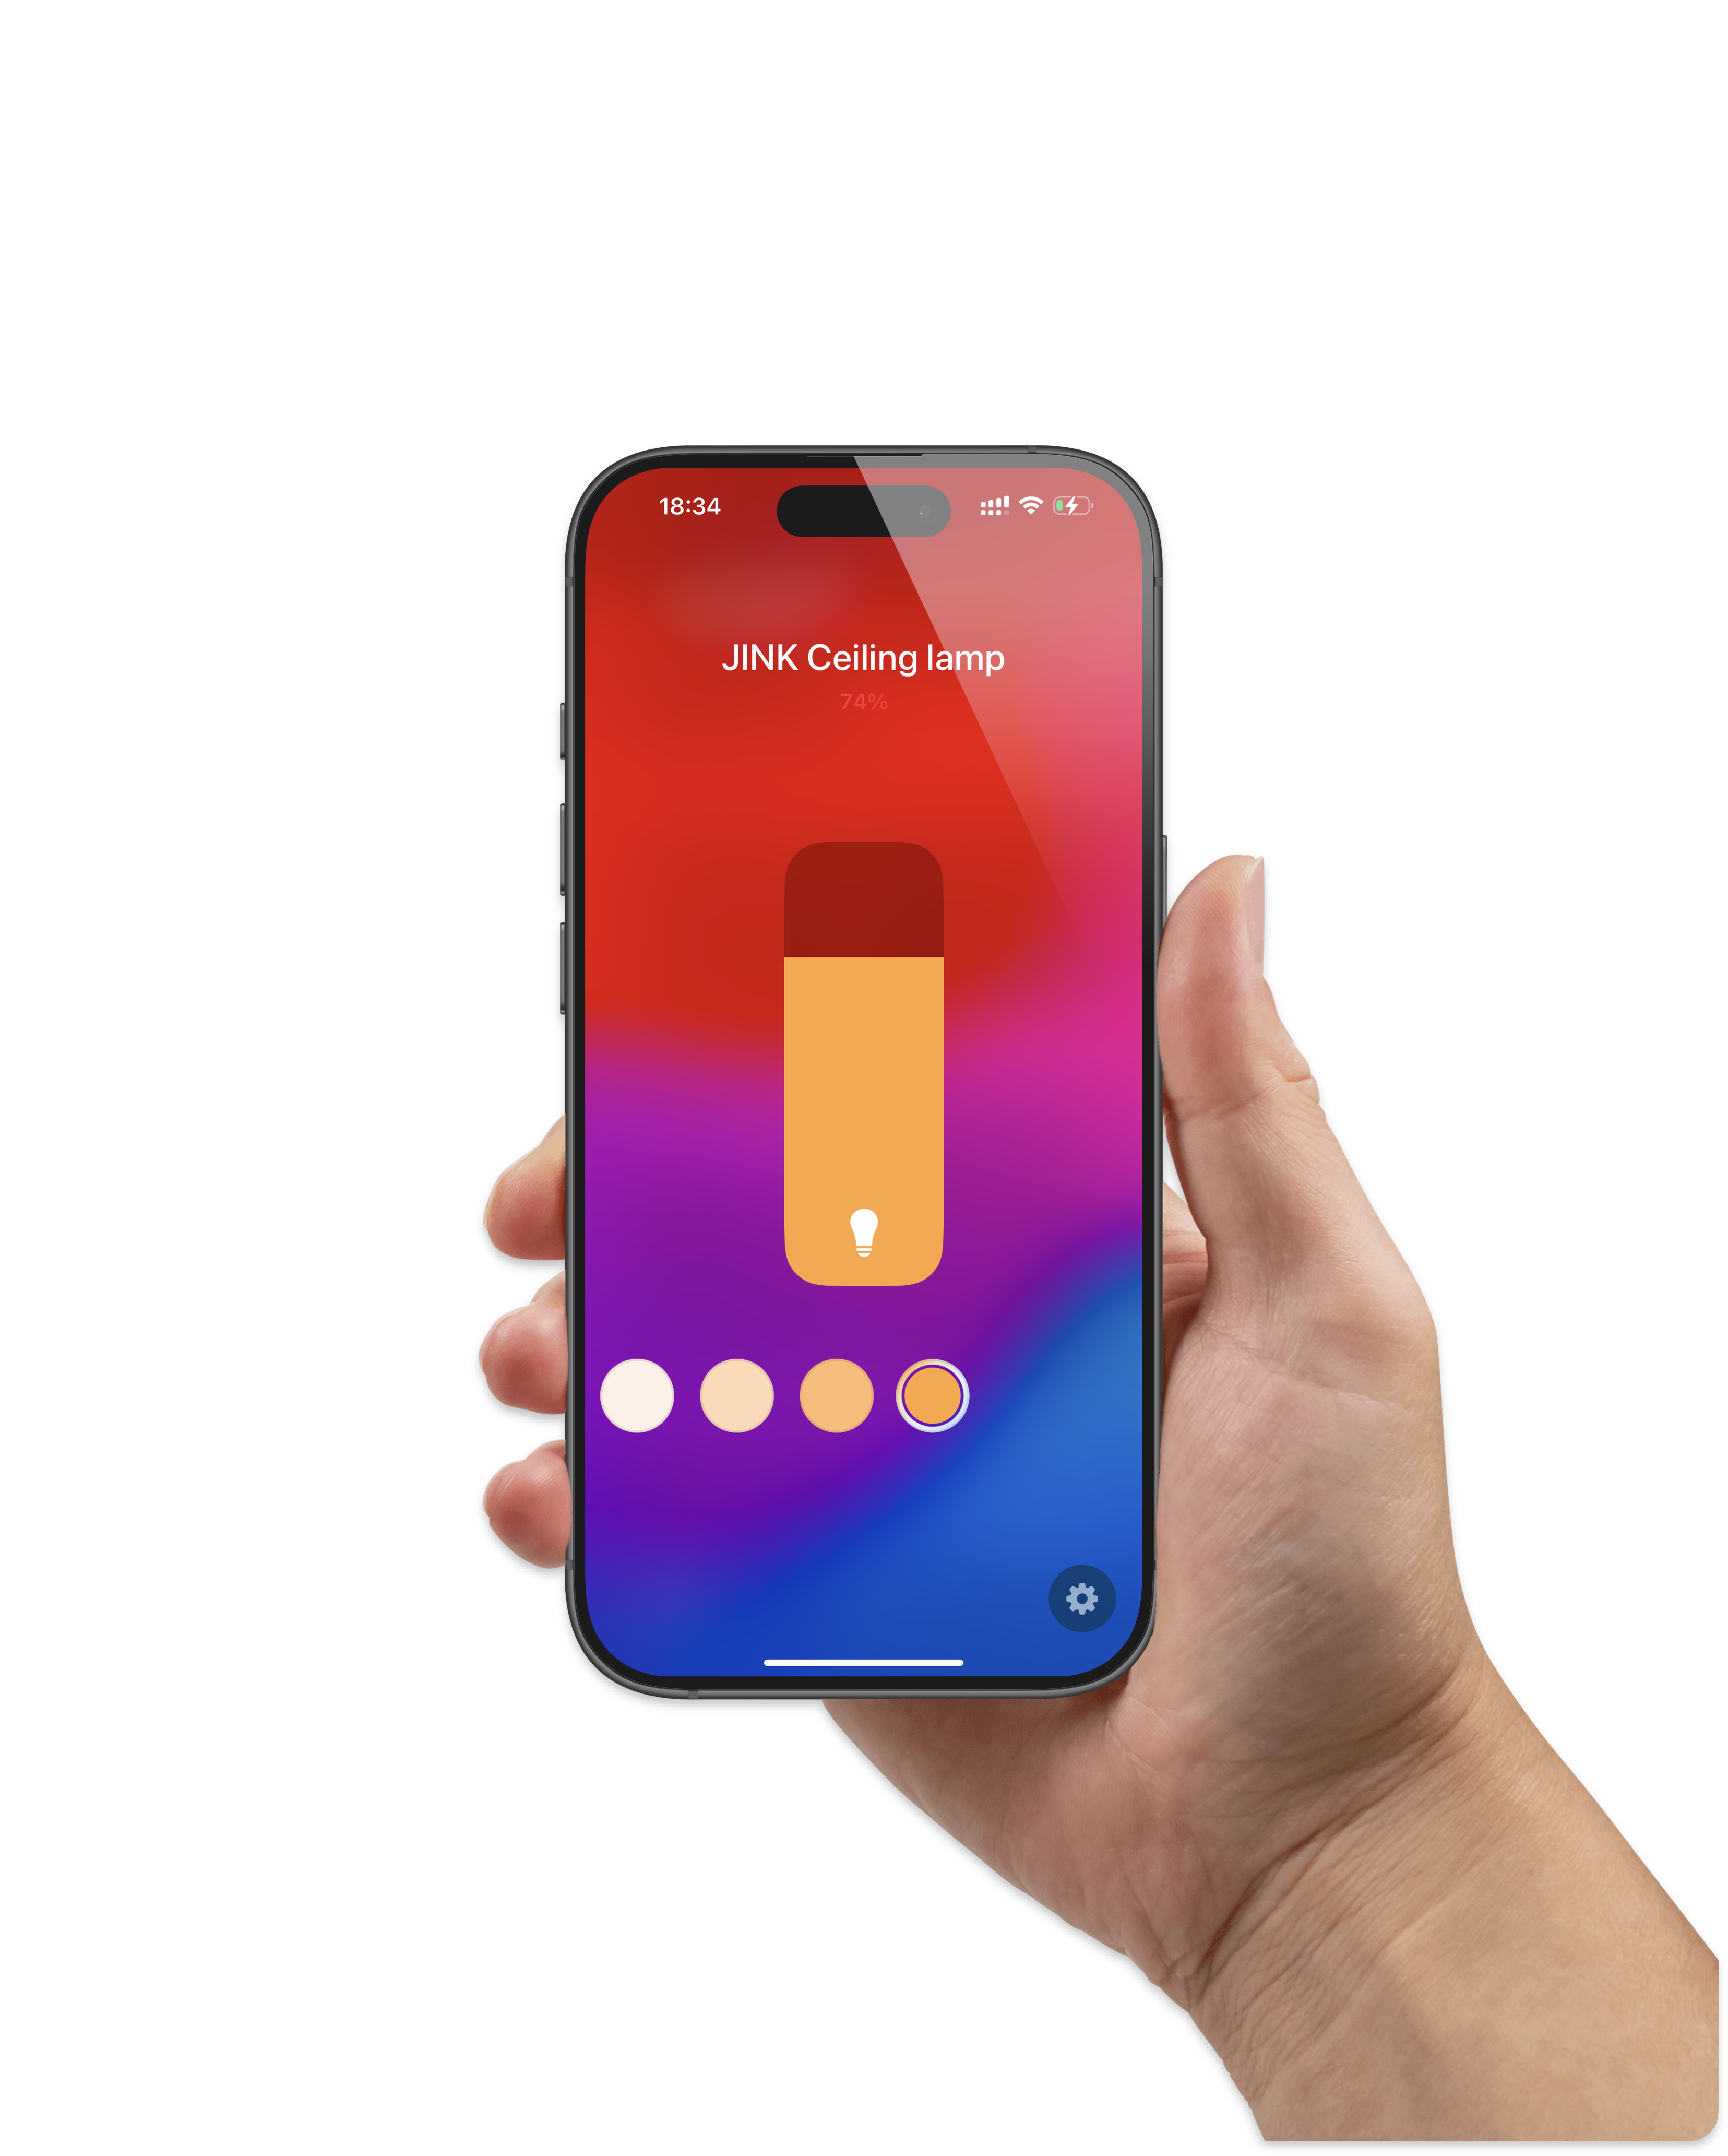
Individual controls help fine-tune a light; scenes set multiple supported accessories to saved states.
JINK lighting-control example. The original screen reads JINK Ceiling lamp / 74% and is preserved unchanged; it is not a Glide 20-specific screen or test record.
Apple Home control guidance ↗ · Available controls depend on the luminaire and platform version.
LIGHT AT YOUR WRIST
While reading, use Home on Apple Watch to adjust a compatible light already added to your home, or run a configured scene. A small adjustment lets the moment continue.
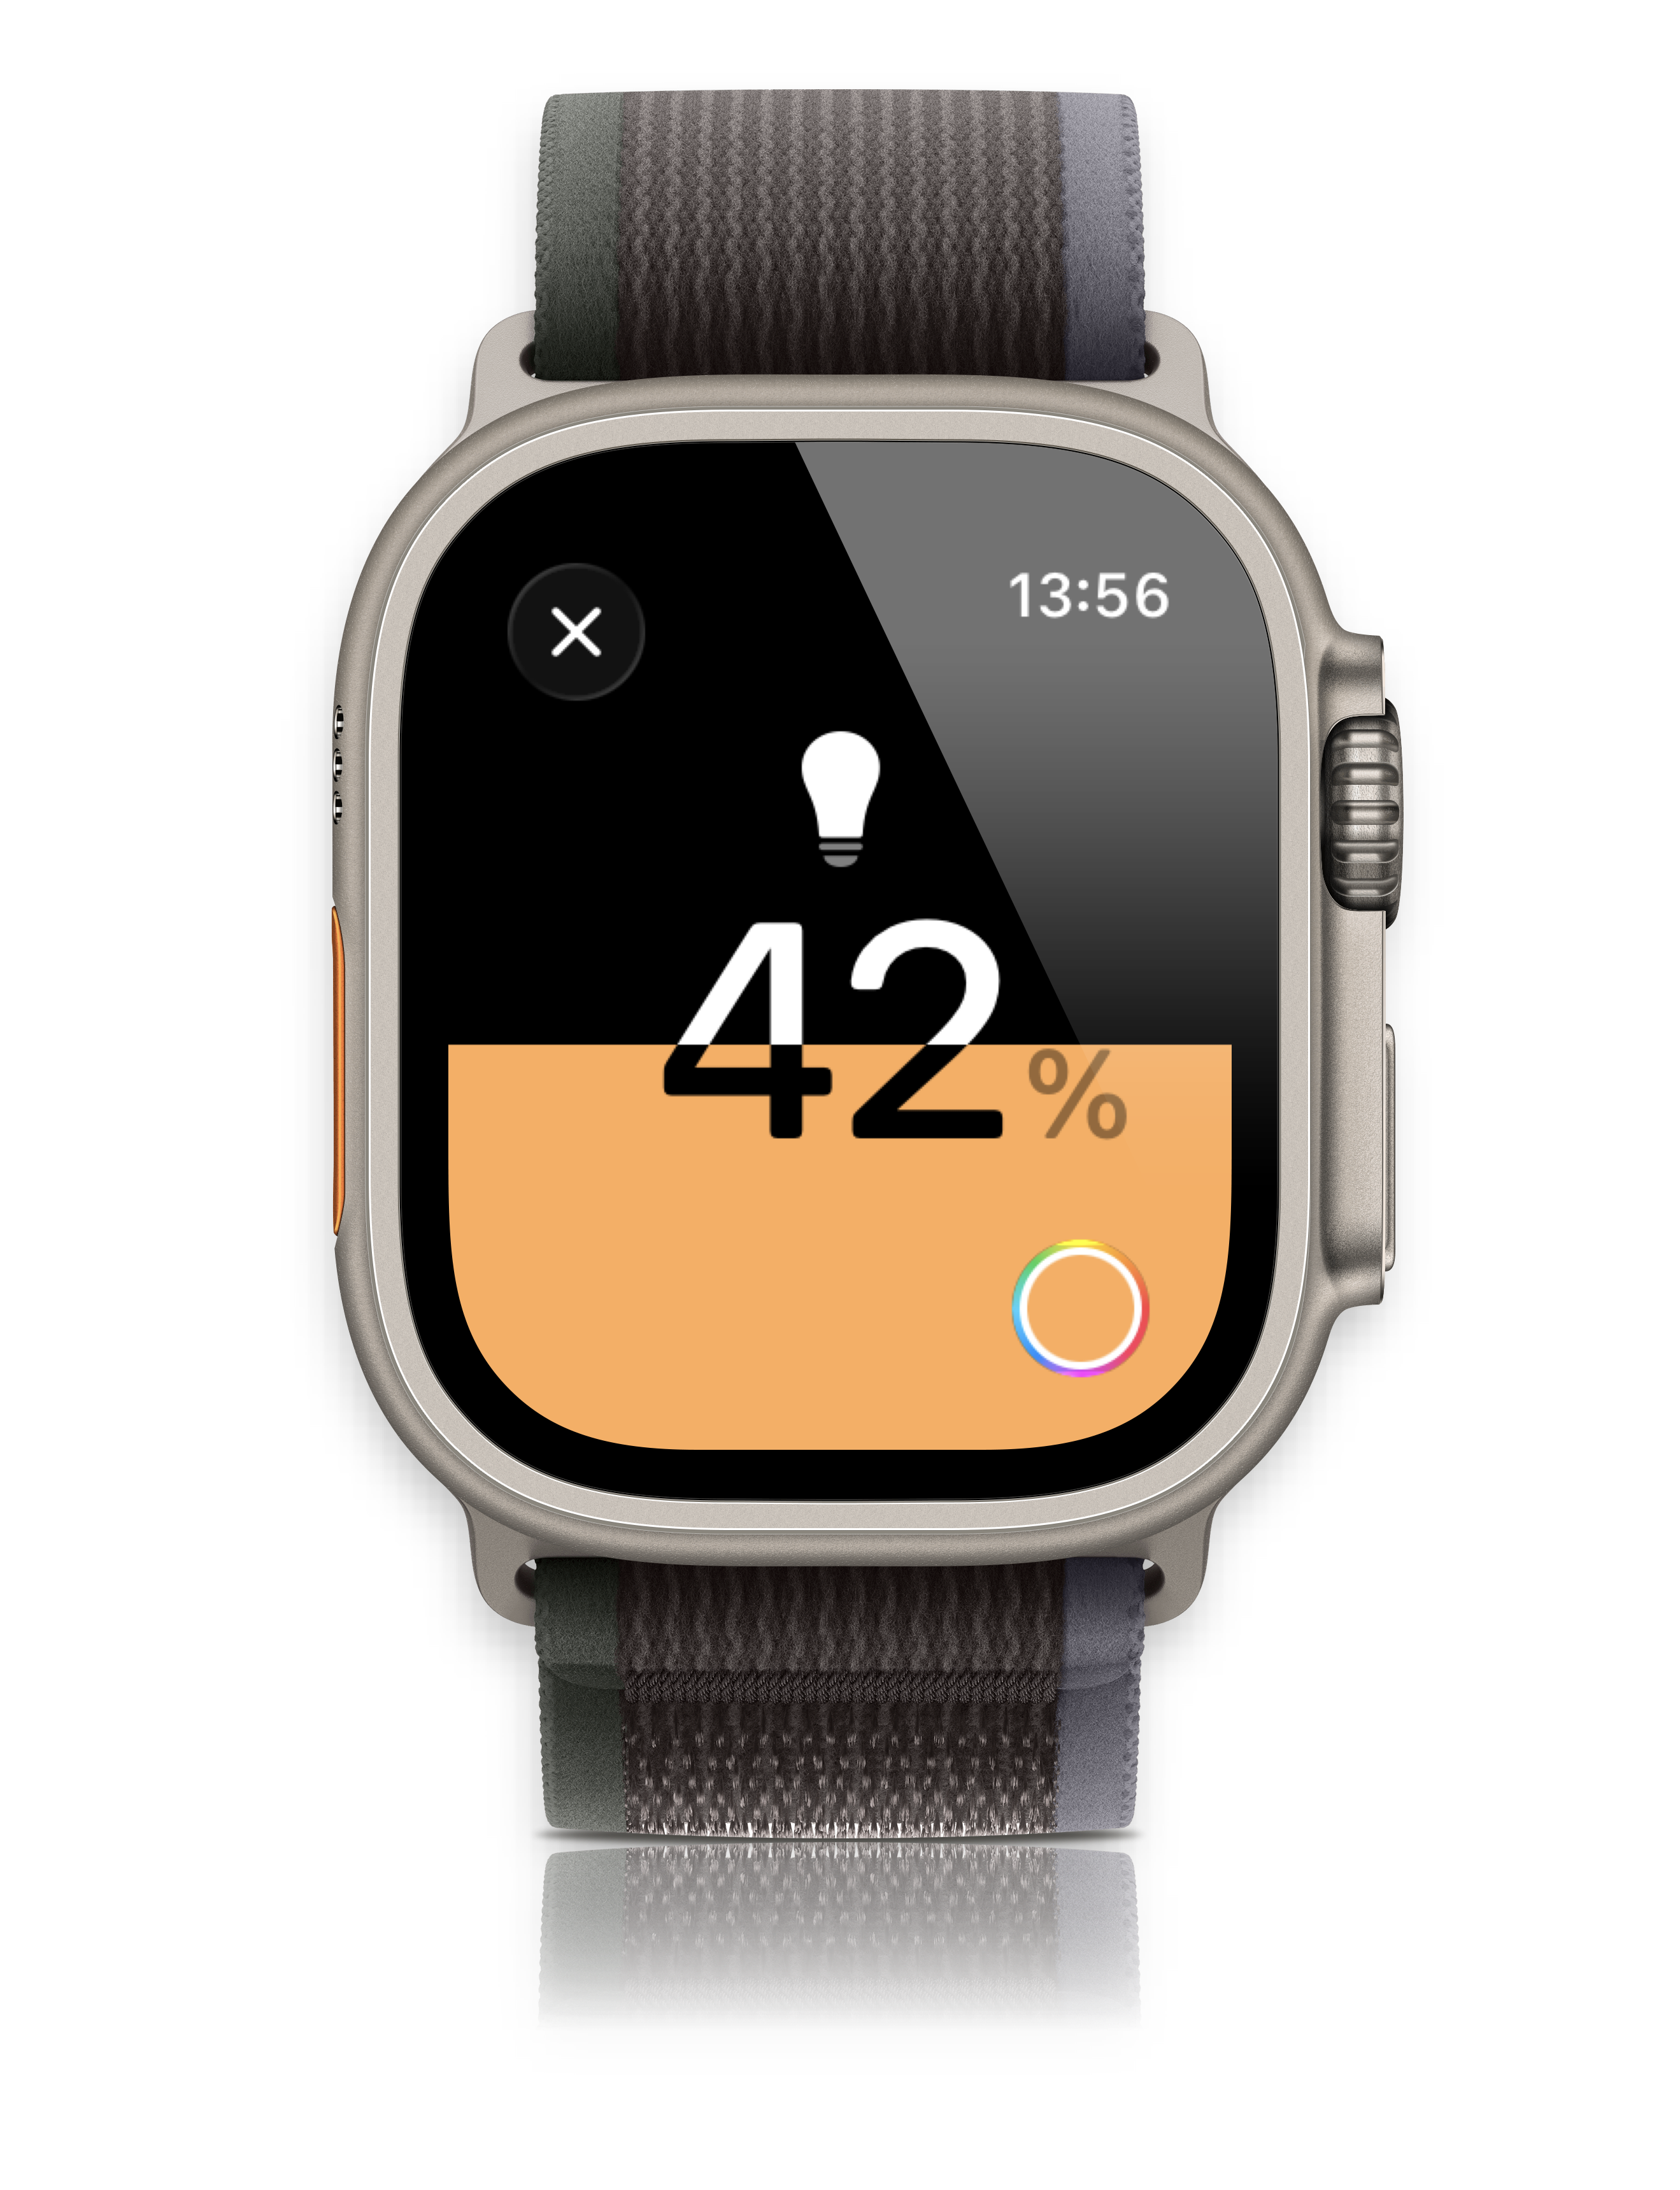
The luminaire joins a compatible home setup, and the watch provides a convenient way to control it. Functions depend on the accessory, platform and network.
42% is an interface example, not measured illuminance or dimming accuracy, and does not imply a direct Thread connection from the watch.
SCENES FOR LIVING
Set supported luminaires to the states you prefer and save them as a scene. Arriving home, dining and watching a film can each have their own light. Supported platforms can also use schedules or sensor triggers; test the configured behavior before making it part of your routine.
Bring up the circulation lighting, then add the living-room accents.
Give the tabletop the focus while retaining a gentle ambient layer.
Lower light around the screen while keeping a suitable level for moving around.
These are scene ideas to configure, not factory presets or a promise of automatic sensing. Additional accessories and a supported platform are required for related automations. Apple scene guidance ↗
Concept spaces and illustrative light levels. Lamps, platforms and companion devices are configured for each project.
PRODUCT IMAGES
Five rail lengths and four connectors. 1200 × 1200 PNG.
PROJECT PLANNING
Bring JINK your room dimensions, recessed-track positions, lighting goals and preferred platform. Confirm the rail, connectors, luminaires and supply as one system.
Disconnect power before installation or repositioning luminaires. Have mains wiring and recessed installation completed by a qualified professional, following the relevant mechanical and electrical instructions.
Discuss your Glide 20 project ↗SPECIFICATIONS